Address
Zhengzhou, Henan, China
Work Hours
Monday to Friday: 7AM - 7PM
Weekend: 10AM - 5PM
Address
Zhengzhou, Henan, China
Work Hours
Monday to Friday: 7AM - 7PM
Weekend: 10AM - 5PM

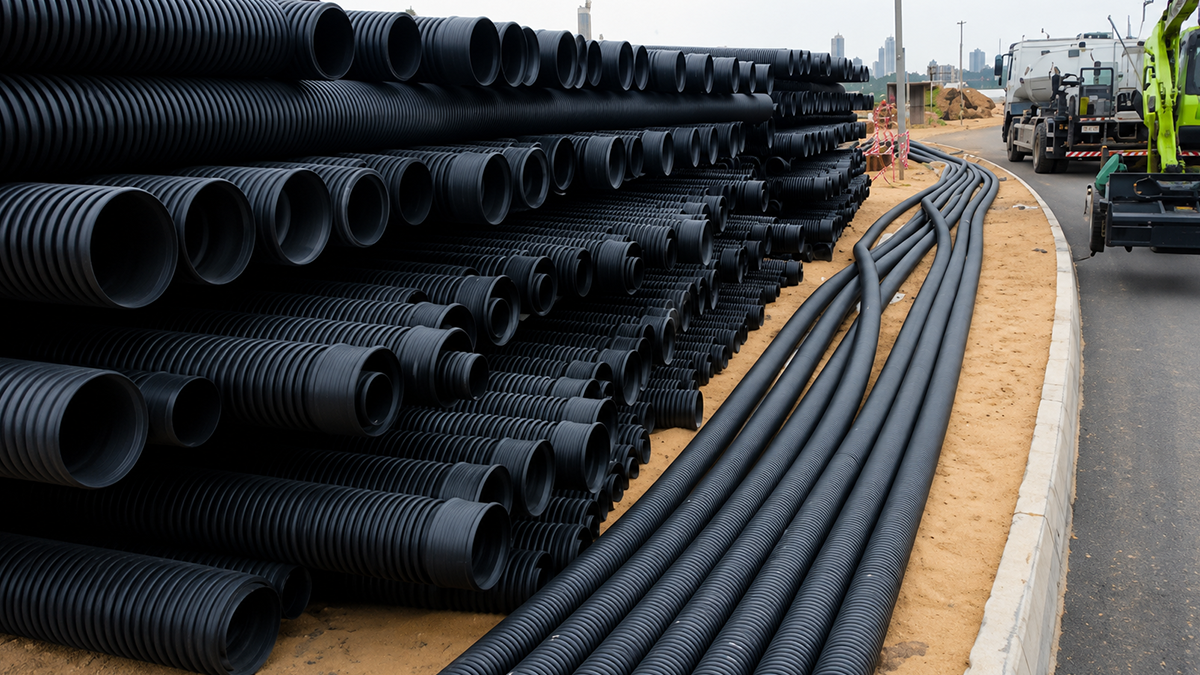
This Single Wall Corrugated Pipe installation guide walks contractors and project buyers through HDPE trenching, bedding, joint connection, and backfilling — with specification-level tips on cover depth, compaction, and deflection control to ensure long-term drainage performance.
Engineered from high-density polyethylene, HDPE single wall corrugated pipe serves as a flexible, lightweight conduit designed specifically for non-pressure, gravity-flow drainage. Its defining feature? An annular corrugated profile that runs along both the interior and exterior. This unique geometry prioritizes cost-effectiveness and rugged durability while offering remarkable adaptability. Installers can easily snake the pipe along natural topographical contours, completely eliminating the need for complex angled HDPE pipe fittings.
Key structural features include:
How does single wall stack up against double wall corrugated (DWC) pipe? The primary difference boils down to structural rigidity and interior wall design. Because single wall pipe features a corrugated interior, it can sometimes trap debris and slow down fluid flow. This makes it a perfect match for agricultural drainage, landscape subdrainage, and downspout run-offs. Double wall pipe, on the other hand, utilizes a smooth inner core. This provides the higher ring stiffness (SN4/SN8) and superior hydraulic flow necessary to handle heavy-duty gravity flow, municipal storm sewers, and highway culverts.
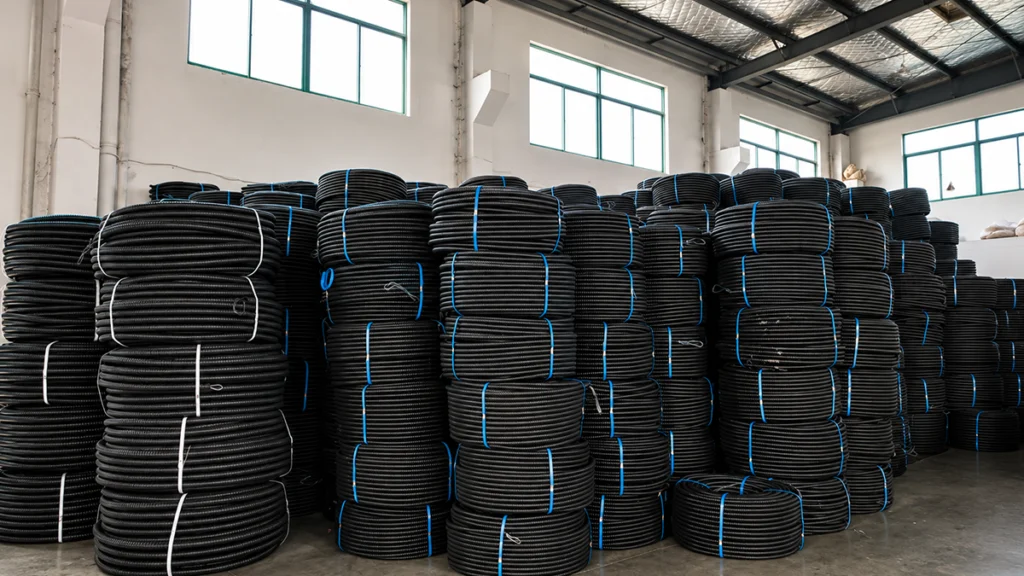
A successful installation rarely happens by accident. It kicks off with a rigorous site assessment and highly organized material staging. Pre-installation planning guarantees a stable trenching environment and verifies that your chosen pipe can handle anticipated top-load traffic.
Project engineers and drainage contractors need to hit every mark on this pre-installation checklist:
Trench dimensions cannot be left to guesswork. They must align strictly with established engineering standards to guarantee enough room for side-support compaction. Governing bodies like AASHTO and ASTM lay out specific trenching depth and width requirements: AASHTO M252 covers 3 to 10-inch diameters, AASHTO M294 dictates 12 to 60-inch diameters, and ASTM F667 handles 8 to 24-inch diameters.
The golden rule of trench width is simple. Make it wide enough to properly compact the haunching material. For HDPE pipes under 18 inches in diameter, calculate the width by taking the pipe’s outside diameter (OD) and adding 12 inches. If the HDPE pipe exceeds 18 inches, add 24 inches to the OD.
Trench Width & Cover Depth Parameter Table:
| Pipe Diameter (mm/in) | Recommended Trench Width (mm) | Minimum Cover Depth (m) *Traffic* | Maximum Cover Depth (m) |
|---|---|---|---|
| 100 mm (4") | 400 mm | 0.3 m (12") | 3.0 – 4.5 m |
| 200 mm (8") | 500 mm | 0.3 m (12") | 3.0 – 4.5 m |
| 300 mm (12") | 600 mm | 0.3 m (12") | 3.0 – 4.5 m |
| 600 mm (24") | 1050 mm | 0.3 m (12") | 3.0 – 4.5 m |
| 900 mm (36") | 1400 mm | 0.3 m (12") | 3.0 – 4.5 m |
| 1200 mm (48") | 1750 mm | 0.3 m (12") | 3.0 – 4.5 m |
| 1500 mm (60") | 2100 mm | 0.6 m (24") | 2.4 – 3.5 m |
*(Note: Maximum cover depth depends heavily on backfill soil class and compaction density; values assume Class II/III soil compacted to 90-95% Standard Proctor).*
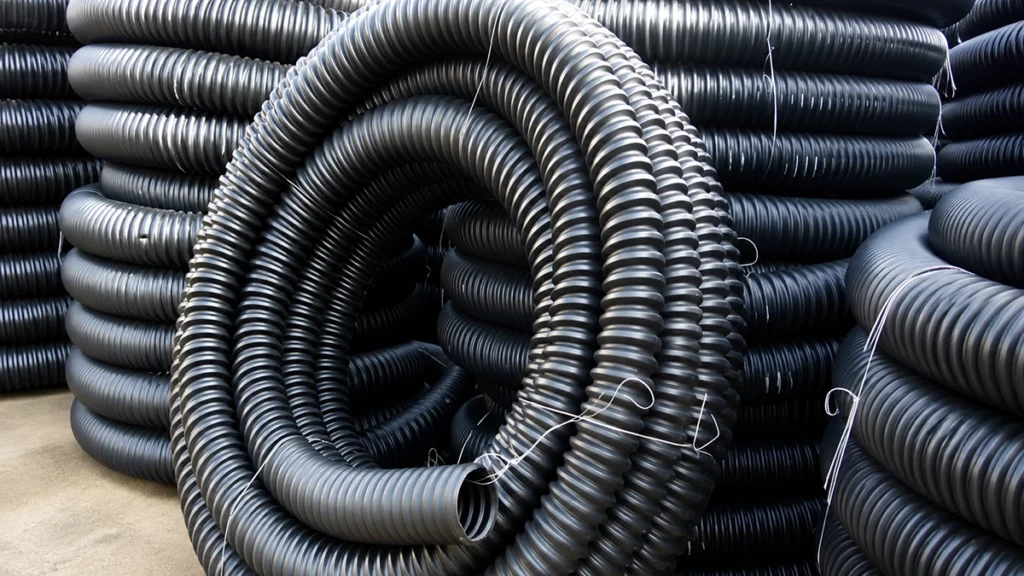
Proper bedding acts as a vital cushion between the trench floor and the HDPE pipe invert. Without a uniform, stable foundation, the HDPE pipeline risks point-loading and inevitable structural failure.
Follow this exact sequence for laying the pipe:
1. Excavation Cleanup: Clear the trench bottom completely. It needs to be dry, stable, and devoid of frozen matter, large rocks, or organic debris that might create dangerous point-loads against the polyethylene wall.
2. Bedding Placement: Drop a 4 to 6-inch (100–150mm) layer of Class I or II granular material across the trench floor. Keep the maximum particle size at 20mm and ensure the mix contains less than 5% fines.
3. Bedding Compaction & Shaping: Compact only the outer thirds of this bedding layer. You must leave the middle third loosely placed. Why? This uncompacted center prevents hard-point loading on the HDPE pipe invert, distributing the soil load smoothly across the lower radius.
4. Bell Hole Excavation: Carve slight depressions—known as bell holes—into the bedding wherever joints will sit. This guarantees the pipe barrel actually rests on the bedding rather than floating entirely on its joints.
5. Pipe Lowering: Lower smaller diameters by hand. For HDPE pipes stretching past 24 inches, rig up a 1-point or 2-point sling. Never throw or drop the pipe into the trench, as sudden impacts easily damage the corrugations.
6. Alignment Check: Fire up a laser level to confirm the HDPE pipe tracks the correct longitudinal gradient and alignment before you even think about backfilling.
Nailing down the right joint connection hinges entirely on your project’s internal pressure limits and desired watertight rating. Because single wall corrugated pipe primarily handles gravity flow, most connections prioritize low-head watertightness or basic soil-tightness over high-pressure retention.
Comparison of Connection Methods:
| Method | Best Use Case | Watertight Rating | Installation Difficulty |
|---|---|---|---|
| Split / Snap Couplings | Agricultural drainage, landscape subdrainage | Low (Soil-Tight only) | Easy (Snap-on) |
| Gasketed Bell & Spigot | Storm sewers, high water table areas | High (Watertight, up to 10.8 psi) | Medium (Requires lubricant & homing mark) |
| PVC Slip Coupling | Field repairs, connecting to existing lines | Medium | Medium |
| Chemical Grouting | In-situ trenchless repairs (4"–60" pipes) | High | Hard (Requires specialized equipment) |
Preventing leaks on gasketed bell and spigot joints requires attention to detail. First, wipe the pipe ends completely clean and shave off any plastic burrs. Next, apply a generous coat of approved pipe lubricant to both the inside of the bell and the gasket itself. Finally, push the spigot home until it aligns perfectly with the factory-applied homing mark.
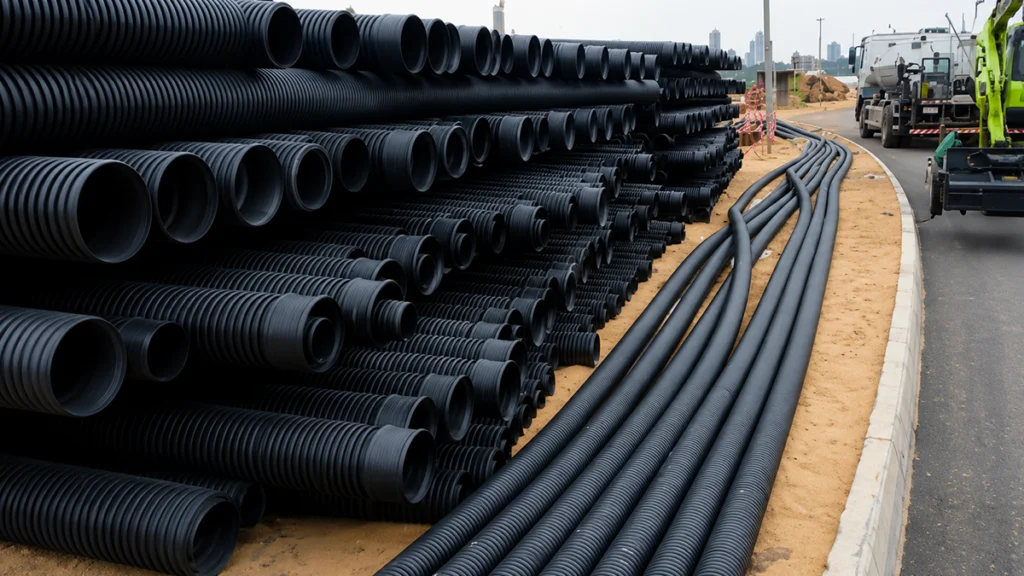
Backfilling stands as the single most critical phase of the installation. Flexible thermoplastic HDPE pipes do not bear loads alone; they rely heavily on passive soil resistance from the surrounding backfill to hold their structural shape.
The pipe envelope breaks down into four specific zones:
Compaction Target Table (by Backfill Zone/Material):
| Backfill Material Class | Description | Compaction Target (Standard Proctor) | Compaction Method |
|---|---|---|---|
| Class I | Crushed stone, gravel (ASTM D2321) | N/A (Self-compacting) | Dumped and lightly tamped/knifed |
| Class II | Well-graded sand/gravel mixtures | 90% Minimum | Vibratory plate compactor |
| Class III | Silty/clayey gravels and sands | 95% Minimum | Hand tamper / Vibratory compactor |
| Class IV | Inorganic silts, clays | NOT PERMITTED | N/A |
Do’s and Don’ts for Backfilling:
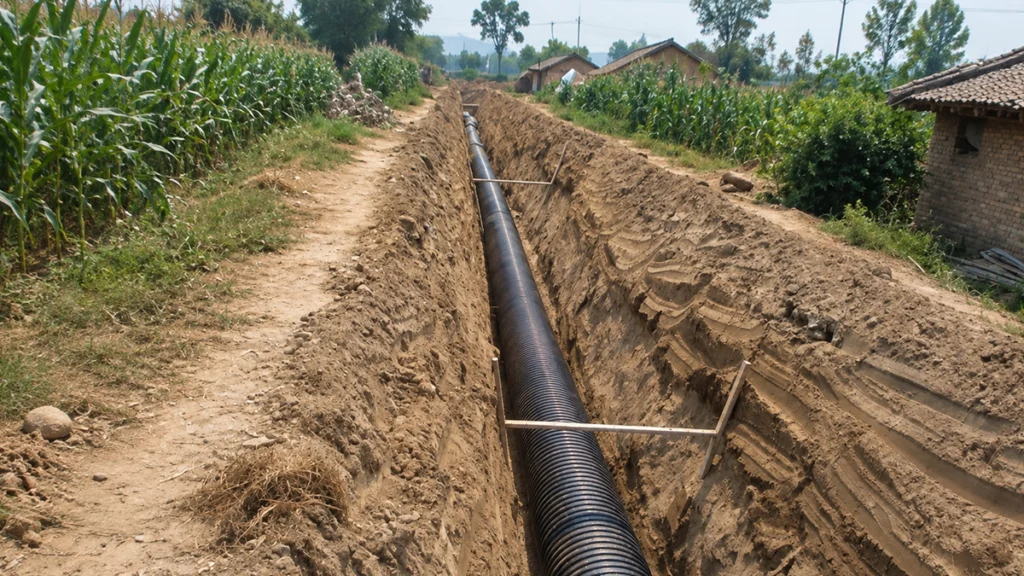
Most corrugated pipe failures trace back to two primary culprits: incorrect material selection or sloppy soil compaction. The HDPE pipe and the surrounding soil function as a unified structural system. Fail to support the pipe correctly, and you invite deflection, severe cracking, or catastrophic collapse.
Mistakes, Consequences, and Corrections:
| Mistake | Consequence | Correct Practice |
|---|---|---|
| Failing to knife backfill into the haunches | Loss of side support, leading to severe pipe deflection or structural collapse under load. | Use a shovel or hand tamper to aggressively work Class I/II material into the corrugations under the springline. |
| Using native clay/silt (Class IV) for backfill | Poor compaction, soil settlement, and eventual pipe failure due to lack of passive soil resistance. | Import Class I, II, or III granular materials and compact to 90–95% Standard Proctor density. |
| Leaving burrs on cut pipe ends | Gaskets unseat, roll, or tear during assembly, causing immediate joint leaks. | Cut in the center of the corrugation valley and smoothly trim all polyethylene burrs before joining. |
| Compacting directly over the pipe crown too early | Crushing or deflecting the pipe with heavy machinery. | Maintain a minimum of 12 inches of compacted cover before using heavy mechanical compactors over the pipe. |
Quality acceptance protocols confirm the HDPE pipeline will perform structurally and hydraulically for its full designed lifespan. A thorough post-installation inspection verifies soil density, longitudinal gradient, and overall trench alignment.
A standard acceptance checklist demands:
Mandrel Deflection Testing:
To truly prove structural integrity, contractors should execute a mandrel deflection test. Wait at least 30 days after placing the final backfill; this gives the soil time to naturally settle. For thermoplastic HDPE pipes, the industry standard allowable deflection limit caps at 5% of the base internal diameter (although regional codes, like CSA B182.11, occasionally allow up to 7.5%). The test involves pulling a rigid mandrel—sized at 95% of the pipe’s nominal ID—through the line. If the mandrel snags or gets stuck, the pipe has deflected beyond safe limits. That specific section requires immediate excavation and re-installation.
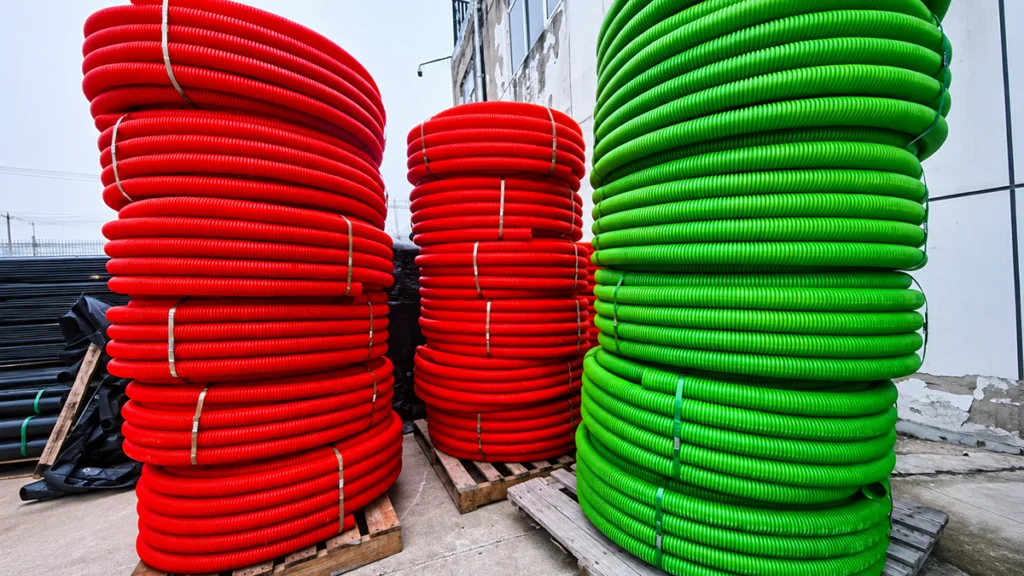
Calculating the total cost of ownership requires wholesale distributors and procurement managers to look far beyond a simple per-meter price tag. While single wall corrugated pipe remains highly economical, installation demands and freight logistics ultimately dictate the true project budget.
Cost Breakdown Drivers:
Supplier Evaluation Checklist (JINQUAN Context):
Partnering with a proven manufacturer drastically reduces supply chain friction. B2B buyers should scrutinize suppliers using these metrics:
Strict adherence to installation protocols remains the only surefire way to guarantee long-term structural stability and flawless hydraulic performance. Equip your field teams with this scannable best-practice checklist:
Standard H-20 or H-25 traffic loads demand a minimum of 12 inches (0.3 meters) of compacted cover for pipes up to 48 inches in diameter. If you are working with massive pipes exceeding 54 inches, you must bump that minimum cover depth up to 24 inches (0.6 meters) to actively prevent crushing.
Absolutely, as long as the installation meets the necessary structural load class (like AASHTO H-20). You must strictly enforce the 12-inch minimum cover depth and utilize intensely compacted Class I or II granular backfill to shoulder the heavy traffic loads.
Class I or Class II granular materials take the top spot. This category encompasses well-graded sand and gravel mixtures, pea gravel, and crushed stone that meet ASTM D2321 standards. Keep the maximum particle size at 20mm and ensure fines account for less than 5% of the mix to optimize both compaction and drainage.
For basic soil-tight agricultural setups, crews generally snap or split couplings onto the sections. However, if the project demands watertight seals, you must transition to gasketed bell and spigot connections. Always cut the pipe ends cleanly within the corrugation valley, shave off any burrs, and lubricate the gaskets thoroughly prior to assembly.
Industry standards permit a maximum deflection of 5% based on the pipe’s base internal diameter. To get an accurate reading, wait at least 30 days after the final backfill placement before running a rigid mandrel deflection test. This delay accounts for natural soil settlement.
Yes. Compaction is non-negotiable. Flexible corrugated pipes survive by leveraging passive soil resistance. To prevent structural collapse, you must compact Class II and III backfill materials to a minimum of 90% to 95% Standard Proctor density, paying obsessive attention to the haunching zone.
While the core installation principles mirror each other, double wall pipe (DWC) boasts a smooth interior and significantly higher ring stiffness (SN4/SN8). This makes DWC the go-to choice for high-velocity municipal storm sewers. Single wall pipe offers greater flexibility and economy, making it the preferred solution for low-velocity landscape or agricultural drainage.
Assuming perfect installation—complete with the correct backfill, bedding, and compaction—HDPE single wall corrugated pipe routinely delivers a service life spanning 50 to 100 years. High-density polyethylene naturally resists biological degradation, abrasion, and chemical corrosion in subterranean environments.
Pulling off a flawless single wall corrugated pipe installation comes down to rigid adherence to engineering standards, exact trenching dimensions, and aggressive backfill compaction. The ultimate performance of any flexible thermoplastic pipe is inextricably linked to the quality of its surrounding soil envelope. Contractors who prioritize rigorous site surveys, source appropriate Class I or II granular materials, meticulously knife the haunches, and allow proper time for mandrel deflection testing will reliably deliver structurally sound, long-lasting drainage systems. Beyond the trench, partnering with a certified, established manufacturer ensures the pipe itself can withstand the harsh realities of modern infrastructure projects—ultimately safeguarding your project timelines and securing long-term functionality.